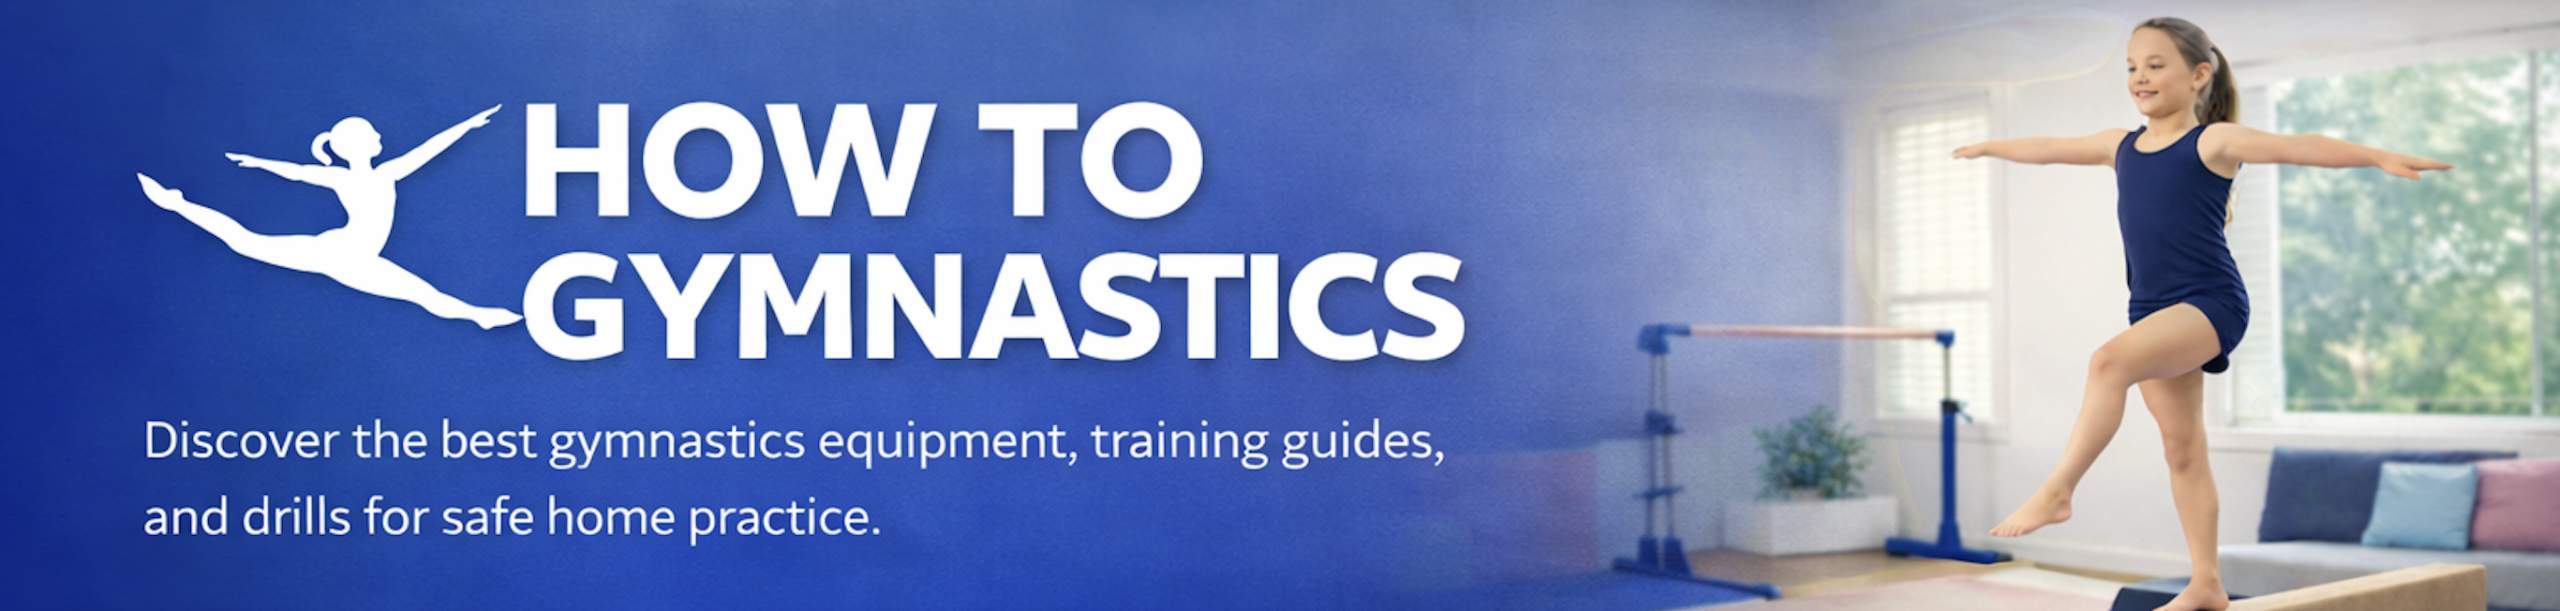
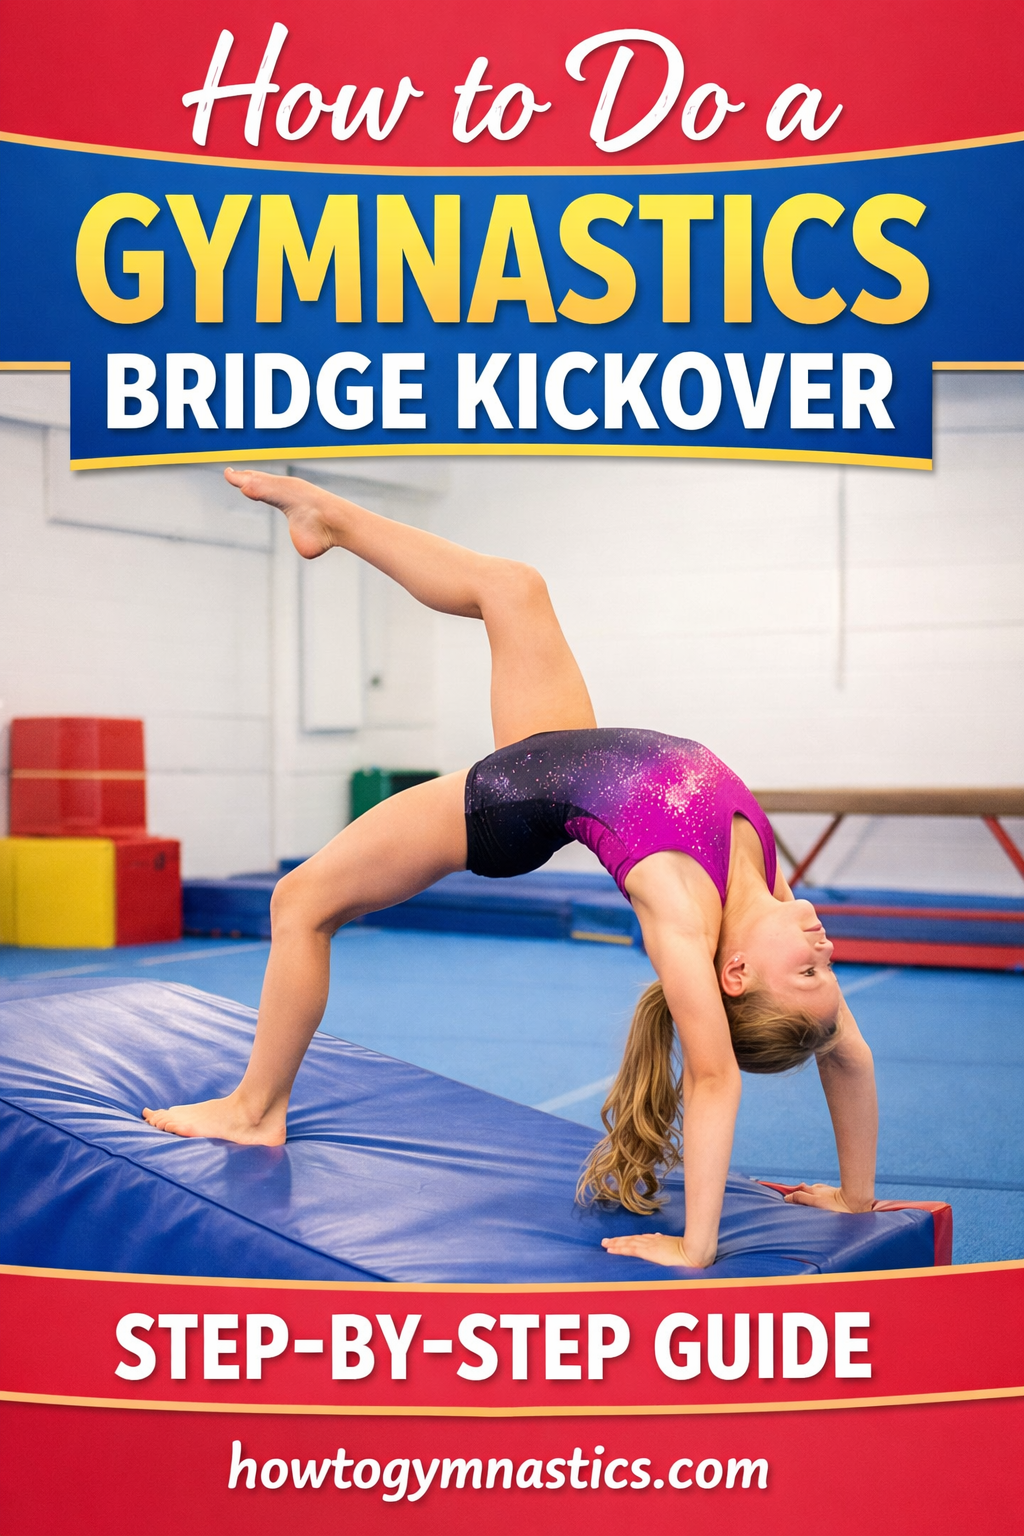
If you’ve ever watched a gymnast flow smoothly from a backbend into a standing position, you’ve seen the magic of a gymnastics bridge kickover. This skill is a foundational move in gymnastics, cheerleading, and even dance, combining flexibility, strength, and coordination.
In this complete guide, you’ll learn exactly how to do a gymnastics bridge kickover, even if you’re starting from scratch. We’ll break it down step-by-step, cover common mistakes, and recommend helpful tools (including Amazon affiliate gear) to speed up your progress safely.
What Is a Gymnastics Bridge Kickover?
A gymnastics bridge kickover is a movement where you push up into a bridge position and then kick one leg over your body to return to standing.
It’s often referred to as:
- bridge kickover
- back kickover
- handstand bridge kickover
All variations involve transitioning through a gymnastics bridge and using momentum and flexibility to “kick over.”
This move is essential for:
- Floor routines
- Back walkovers
- Back handsprings progression
- Cheerleading skills
👉 Learn more beginner gymnastics skills on How to Gymnastics.
Why the Gymnastics Bridge Is So Important
The gymnastics bridge is the foundation of the entire skill. Without a strong, flexible bridge, your kickover will feel impossible.
A solid bridge helps with:
- Shoulder flexibility
- Spine mobility
- Core strength
- Arm push power
If your bridge is weak or tight, your bridge kickover will stall halfway.
👉 Improve your strength and flexibility with this beginners guide.
Gymnastics Bridge Kickover Prerequisites
Before attempting a gymnastics bridge kickover, make sure you can:
- Hold a gymnastics bridge for 10–20 seconds
- Kick one leg high in the air (split flexibility helps)
- Push strongly through your shoulders
- Shift weight from feet to hands
If you can’t do these yet, don’t worry—this guide will help you build up to it.
Step-by-Step: How to Do a Gymnastics Bridge Kickover
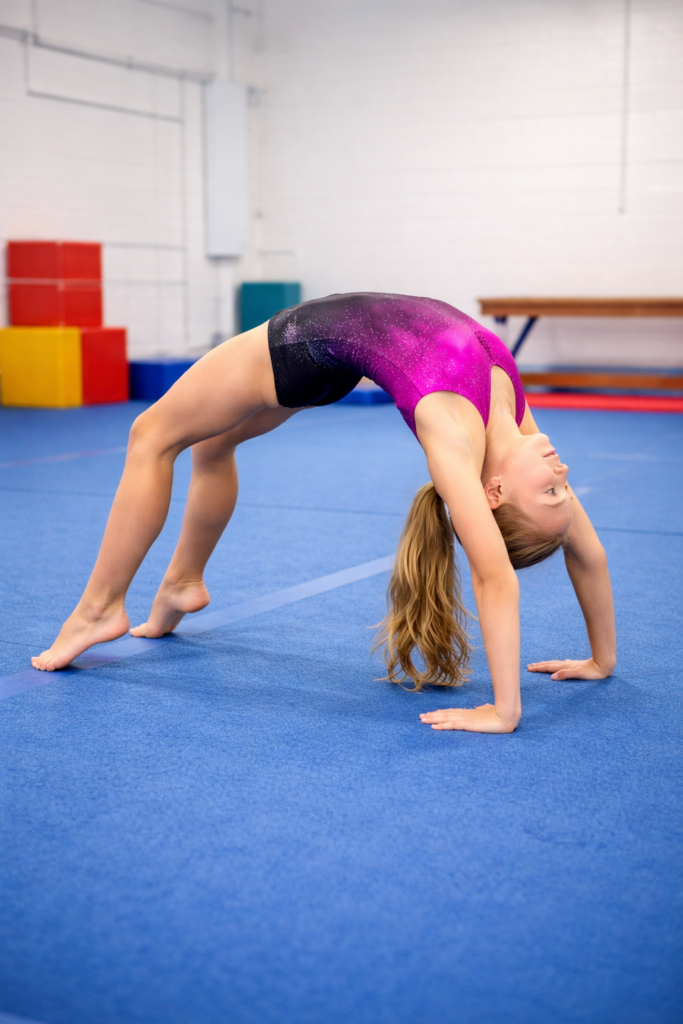
Step 1: Start in a Strong Gymnastics Bridge
To begin your gymnastics bridge kickover, lie on your back and push up into a bridge position.
Focus on:
- Straight arms
- Pushing shoulders over hands
- Feet flat on the ground
This is the starting point for every successful bridge kickover.
Step 2: Shift Your Weight Forward
Once in your gymnastics bridge, shift your weight toward your hands.
Why this matters:
- It makes your legs lighter
- It prepares your body for the kick
- It prevents getting “stuck”
This step is crucial for both a back kickover and a handstand bridge kickover.
Step 3: Lift Your Dominant Leg
Raise one leg high into the air. This is your kicking leg.
Tips:
- Keep the leg straight
- Point your toes
- Aim for a vertical line
The higher your leg goes, the easier your gymnastics bridge kickover will be.
Step 4: Kick Over With Power
Now comes the key moment of the bridge kickover.
- Push through your shoulders
- Kick your raised leg over your body
- Let the second leg follow
This creates the motion needed for a full back kickover.
Step 5: Stand Up and Finish
As your legs come over:
- Bring your weight onto your feet
- Lift your chest
- Stand tall
Congratulations—you’ve completed a gymnastics bridge kickover!
Common Mistakes in a Gymnastics Bridge Kickover
Not Pushing Through Shoulders
This is the #1 reason people fail their gymnastics bridge kickover.
Fix:
- Practice shoulder stretches
- Focus on pushing your chest forward
Weak Kick
A weak kick won’t generate enough momentum for a bridge kickover.
Fix:
- Practice leg lifts and kicks
- Work on splits
Feet Too Close to Hands
If your feet are too close, your gymnastics bridge becomes cramped.
Fix:
- Step your feet slightly away from your hands
Fear of Going Over
Many beginners hesitate mid-move.
Fix:
- Practice with a spotter
- Use a wedge mat
Drills to Improve Your Gymnastics Bridge Kickover
1. Bridge Leg Lifts
From a gymnastics bridge, lift one leg repeatedly.
This builds:
- Strength
- Confidence
- Balance
2. Wall Kickovers
Place your feet near a wall and practice kicking over.
This helps simulate a full back kickover safely.
3. Handstand Bridge Kicker Practice
Kick into a handstand and fall into a bridge.
This drill improves your handstand bridge kickover control and transition.
Best Equipment to Learn a Gymnastics Bridge Kickover
Using the right tools can dramatically speed up your progress.
1. Incline Gymnastics Mat (Cheese Mat)
Perfect for beginners learning a gymnastics bridge kickover.
👉 Best Overall Back Handspring Mat
View on AmazonBenefits:
- Reduces fear
- Helps with momentum
- Safer landings
2. Gymnastics Panel Mat
Great for practicing your gymnastics bridge safely.
👉 Best Overall Home Panel Mat
View on Amazon3. Stretching Strap
Helps improve flexibility for your bridge kickover.
👉 Amazon Pick
View on AmazonSafety Tips for Gymnastics Bridge Kickover Training
When learning a gymnastics bridge kickover, safety is key.
Always:
- Warm up properly
- Stretch your back and shoulders
- Use mats or soft surfaces
- Train with supervision if possible
Avoid:
- Forcing the movement
- Skipping flexibility work
- Practicing on hard floors
How Long Does It Take to Learn a Bridge Kickover?
It depends on your starting point.
Typical timeline:
- Flexible beginners: 1–2 weeks
- Average learners: 2–6 weeks
- Tight or new athletes: 6–12 weeks
Consistency is the key to mastering your gymnastics bridge kickover.
Progressions After Mastering a Gymnastics Bridge Kickover
Once you’ve mastered your gymnastics bridge kickover, you can move on to:
- Back walkover
- Front walkover
- Back handspring
- Aerials
👉 Continue your progression here:
https://howtogymnastics.com/intermediate-gymnastics-skills/
Frequently Asked Questions
Is a bridge kickover the same as a back kickover?
Yes—bridge kickover and back kickover are often used interchangeably. Both involve kicking over from a gymnastics bridge.
What is a handstand bridge kickover?
A handstand bridge kickover is a variation where you go from a handstand into a bridge, then kick over.
Do I need to be flexible to do a gymnastics bridge kickover?
Yes—flexibility is essential. Without it, your gymnastics bridge won’t be strong enough to support the move.
Final Thoughts: Mastering the Gymnastics Bridge Kickover
Learning a gymnastics bridge kickover is a huge milestone in your gymnastics journey. It builds the foundation for more advanced tumbling skills and boosts your overall athletic ability.
To recap:
- Master your gymnastics bridge
- Practice leg kicks and weight shifting
- Use proper equipment for safety
- Stay consistent
With patience and practice, your bridge kickover will become smooth, controlled, and effortless.
If you’re serious about improving your skills, check out more guides here:
👉 https://howtogymnastics.com/
Warning: The reader of this article should exercise all precautions before following any of the exercises from this article and website. To avoid any problems while doing the exercises, it is advised that you consult a medical professional and are supervised by a gymnastics professional. The responsibility lies solely with the reader and not with the site or the writers.This post can may contain affiliate links meaning if you buy something we get a small commission at no extra cost to you.