The back giant on bars are one of the 4 basics to bars. So, let’s jump right into developing strong and safe giants on bars with the giant drills below.
Philosophy about Giants on Bars
The back giant on bars can be one of the biggest break-through skills a young gymnast might experience on uneven bars. Learning a giant on bars can be challenging, exciting, scary, and fun. We like to make sure we have our athletes well prepared with the correct strength, both static and active to support themselves through the drills and the “real” giant. We also like to make sure our athletes know exactly when and where to look throughout the giant making sure their head is in the correct position.
Head Position or Site-line throughout the Giant on Bars
Let’s start at the top in the cast handstand. The eyes should be looking directly at the bar with a neutral head position (forehead towards bar looking through the eyebrows). As the athlete begins the flat fall the eyes look to the low bar watching their pointed feet go by the low bar. Once they have watched the feet past the low bar the eyes will look straight forward at the wall keeping their head in a neutral position giving them the longest possible body position at the bottom of their swing. From here the eyes will remain forward until the wall disappears from the feet or legs covering it on the upswing. Then they will peak up at the bar to arrive at the top continuing to keep their shoulders and ears connected and covered.
Physical Abilities Prerequisites for Giants on Bars
The giant on bars has some prerequisites that need to be covered if both the athlete and coach want to streamline their success in learning this skill.
The first goal is to get the athletes physically prepared to perform a giant on bars. Once the athlete knows that they are physically prepared this will help alleviate any anxiety or nerves about learning giants. You will see below we are giving you all the drills for giants on bars starting from the handstand fall, the arch and tap at the bottom, the hollow shape holds on the way up and then we put it all together.
Handstand and Giant Shape Holds
First and foremost, the athlete needs to be strong enough to hold a solid handstand on the floor without walking. Building up the strength to support their own body weight. Along with some other basic bodyweight gymnastics specific conditioning like; lying levers, angled handstand holds, straight body tension holds, rockers, leg lifts, push-ups, etc.


Back Extension to Handstand Series
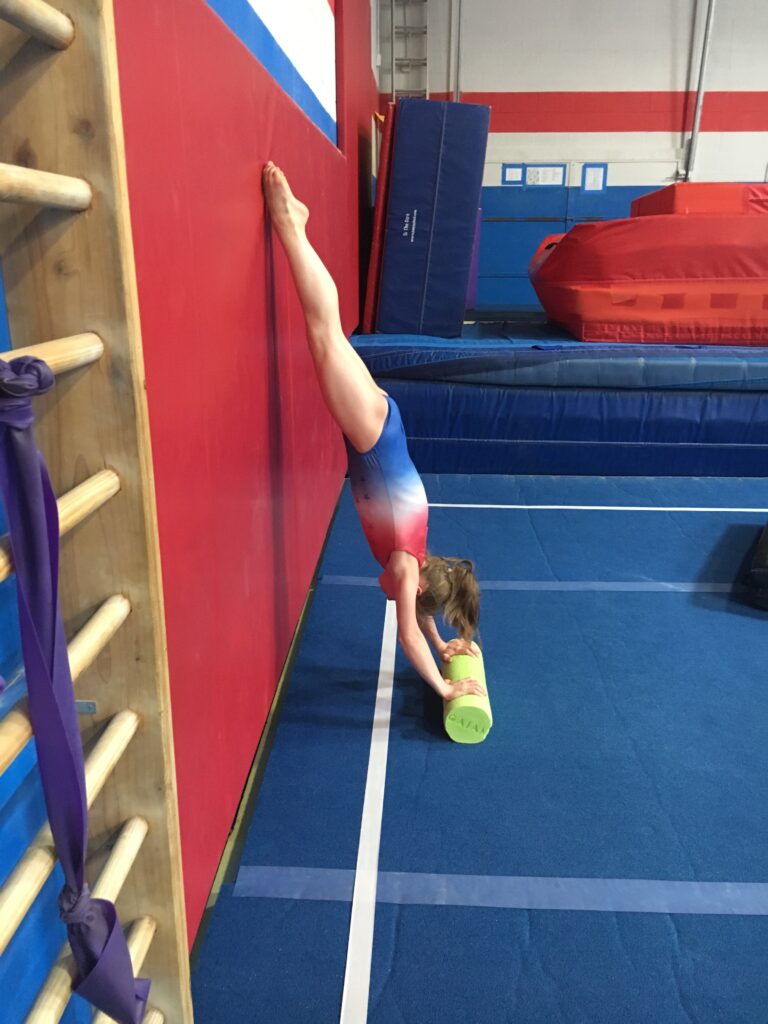
This series of back extension rolls are used to strengthen and build the athletes confidence in learning the giant on bars by going throughout these shapes on the floor. In all these back extension drills we are asking our athletes to perform these with straight arms, head neutral with shoulders in the ears, legs together and straight along with their toes pointed. We also want them to maintain a hollow chest-upper back position with flats hips throughout the back extensions. This series includes the following examples.
- Back extension to hollow
- Back extension to handstand and planche down to plank
- Back extension to just short of handstand and hold the body shape and support to a straight arm forward roll
Partner Back Giant Fall and Back Extension Giant Fall
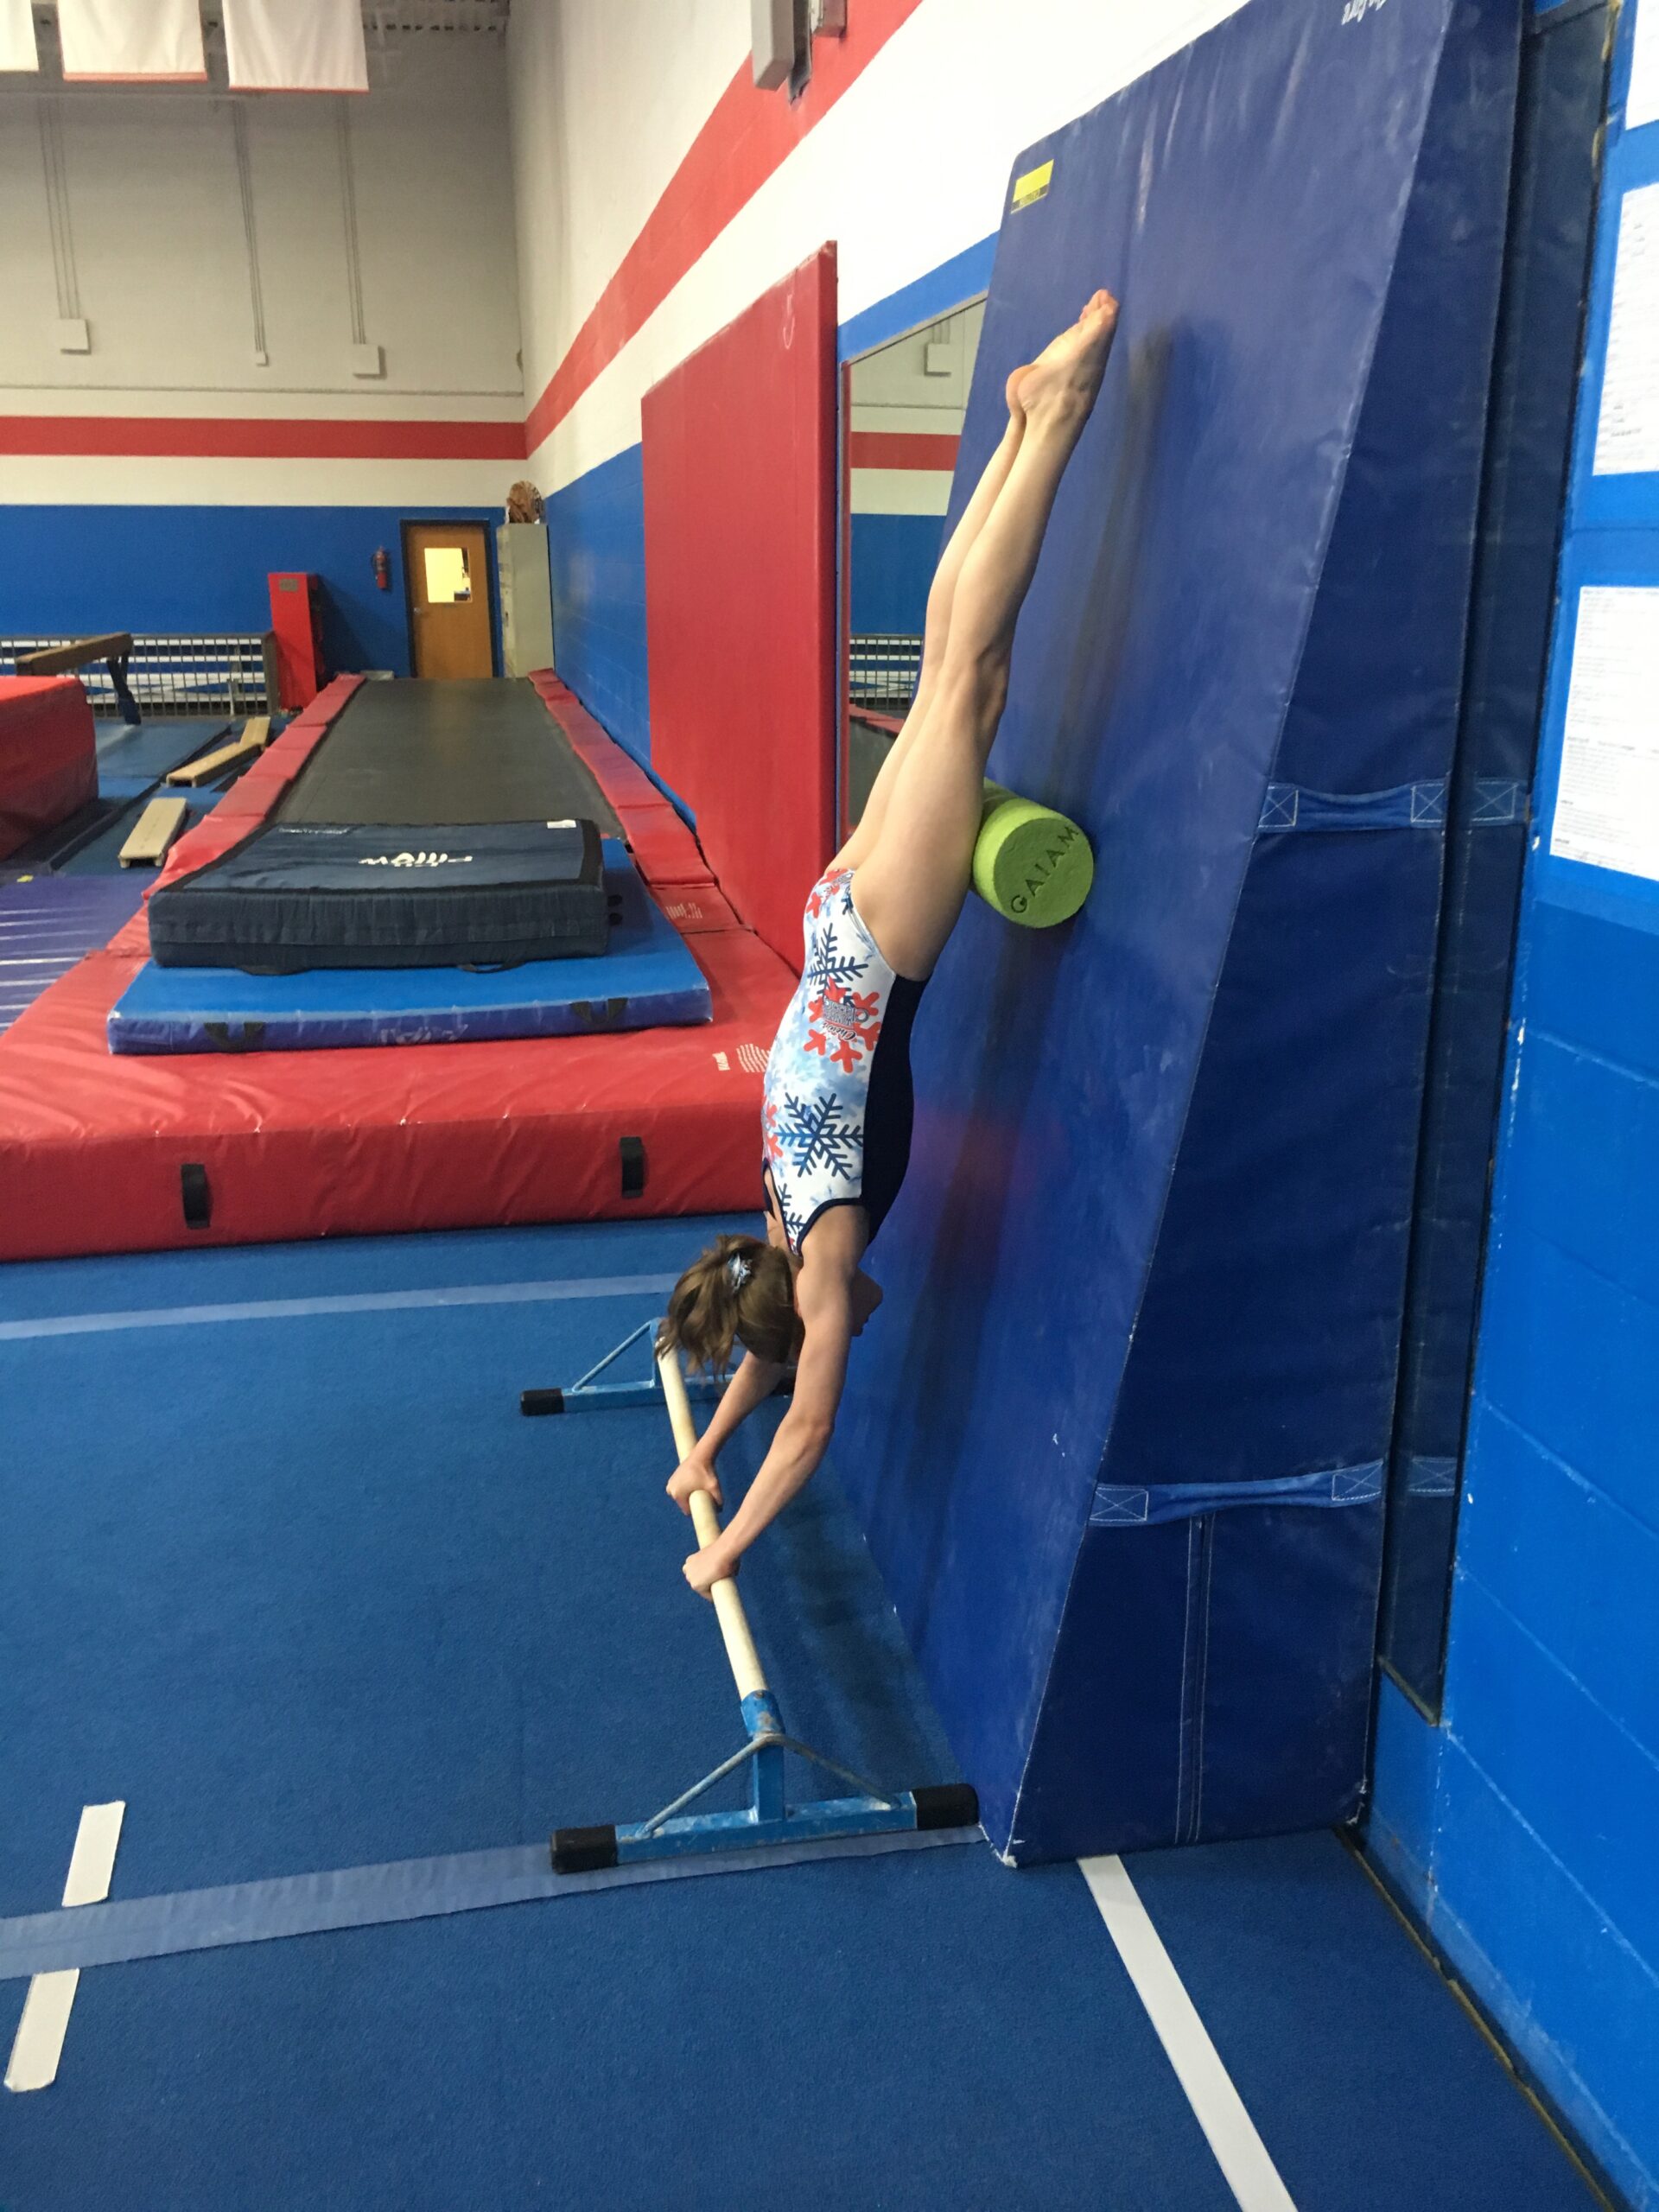
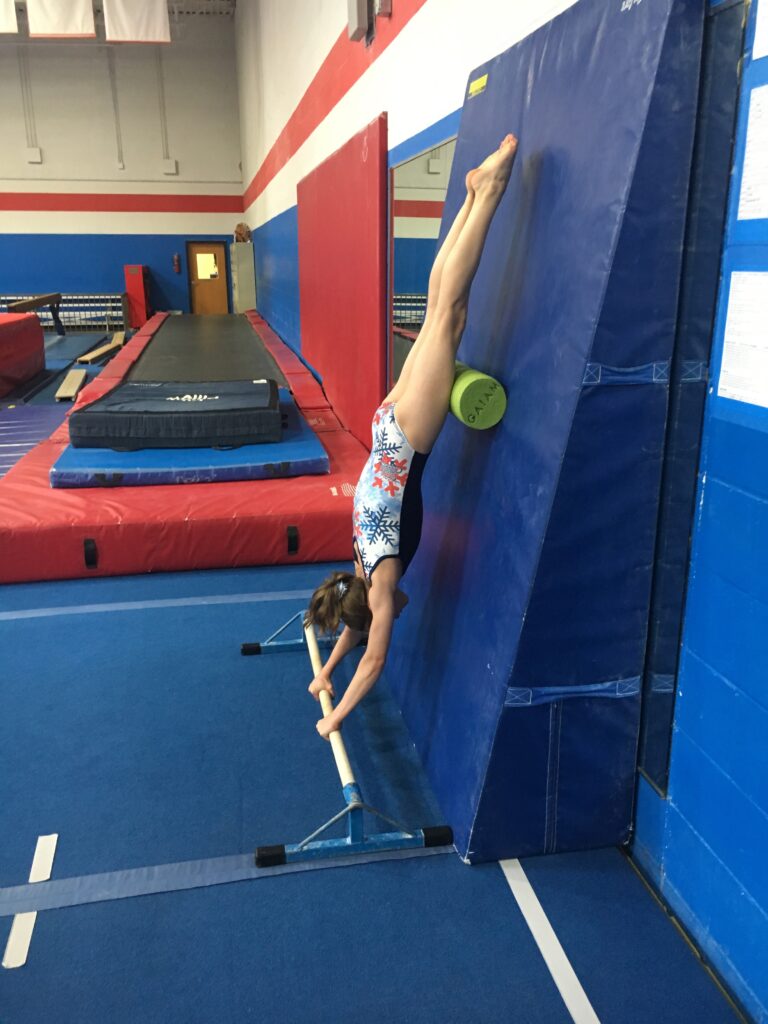
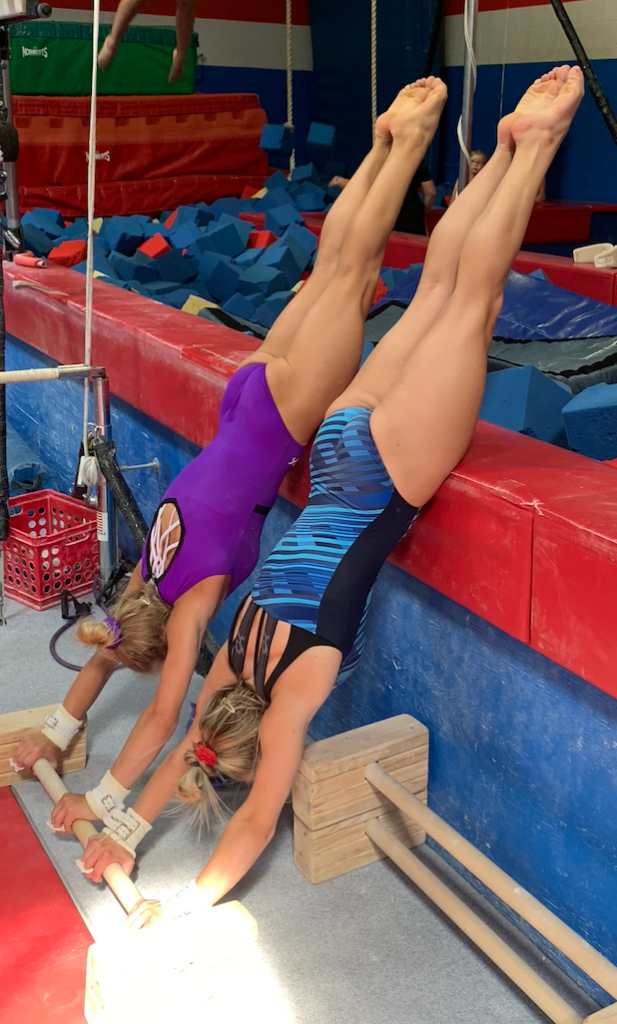
Starting in a handstand the athlete must be able to hold body tension throughout the fall and be strong enough to make shape transitions from straight to hollow to arch to hollow and back to straight. Starting in the handstand we would like the athlete always stretched to their maximum handstand with their eyes on the bar. From this starting position the athlete should remain stretched with tension throughout their entire body holding straight as long as possible to glance down “for the low bar” and land in a tight stretched hollow shape preparing for the low bar.
Tap Swing Open Hips
One of the bigger problems we seem to face when teaching giants on bars is the athletes do not hold their arch long enough or in many cases not even arch at all throughout the bottom of the giant. We try to over-exaggerate this arch through the bottom of the giant. One verbal cue to the athletes is to drag their feet after hollowing past the low bar.
Tap Swing Series for Giants on Bars
The tap swing is the base of the back giant and must be practiced on a regular basis. When teaching the beginner tap swings on bars, we should also be teaching our athletes head position and visual cues throughout the tap swing leading into correct giants. The basic tap swing is not covered in this article.
We use this intermediate tap swing drill to teach a giant and continue to fix giants. This can be done on either a single bar or women’s competition bar. Three tap swings to a pullover with an immediate back hip circle all completed with straight arms throughout. Watch for straight arms and holding a round shape throughout the wrist shift over the top and with the back hip circle. Once this is getting mastered challenge your athlete to the next stages of a stronger tap swing and shape holds over the bar. The advanced version: Tap swing pullover however the athlete misses their hips and does an immediate clear hip circle again all completed with straight arms and maintaining a round shape.
Understand the Upward Giant Phase
The stall bar candlestick hops are a fun drill for the athletes to get quick easy reps of the upward giant phase. The second drill in this video requires a coach to spot the athlete. I believe the work of the coaches on this drill is worth the results it can give the athletes. This drill is to get the athletes comfortable arriving and on top of the bar. (I also use this for new blind changes on bars too!)
Trampoline Bar Giant Shaping
The tumble trak trampoline bar is a great tool for teaching the giants on bars. This video sequence shows an athlete holding her shape across the bar. Her next round opens closer to handstand however continues her body across the bar past handstand. The final part is to do the same drill in under-grip (this is not necessary for the back giant on bars).
Putting the Giant on Bars with Spot “Shape to Shape”
Your athlete will need to understand that the goal of this drill is to start and finish in the exact same shape every turn. We will start the athlete is an over hollow position with their shoulders behind the bar. The reason is to make sure the shape is held downward long enough not allowing a loose or early arch finishing the giant swing across the bar slowly working this up to the handstand position. The athletes will tend to wrist shift early, pop their hips (center of gravity) over the bar and all sorts of other funny things to try to make the giant. As a coach, have the patience to take your athlete back to “Shape to Shape” multiple times as they are learning their giants on bars.
Quick Easy Way to Teach Straddle Giants
Here is the easiest way I have found to teach an athlete to straddle in their tap swings. We then have our athletes go to the pit bar with a pool noodle as a fake low bar and attempt straddle giants. Coaching warning, many kids will want to start to straddle way to early if you just have them straddle without understanding their tap swing.
Final Thoughts on the Back Giant on Bars
The back giant is one of the most important skills your athlete will learn on uneven bars. I hope you enjoy using the drills above to help make the process of learning a giant on bars a safe and fun process for all involved.
Check out our other uneven bar articles:
Warning: The reader of this article should exercise all precautions before following any of the exercises from this article and website. To avoid any problems while doing the exercises, it is advised that you consult a medical professional and are supervised by a gymnastics professional. The responsibility lies solely with the reader and not with the site or the writers.This post can may contain affiliate links meaning if you buy something we get a small commission at no extra cost to you.